I have always loved landscape photography, but it was not somewhat recently that I discovered what has come to be one of my favorite photography ‘tricks’. A neutral density (ND) filter is somewhat like sunglasses for your lens/camera in that they “darken” the field of view. However, unlike some filters they do not add a tint or otherwise change the image – that’s where the neutral part comes in. The filter cuts down on all light equally – ie it is neutral with respect to light.
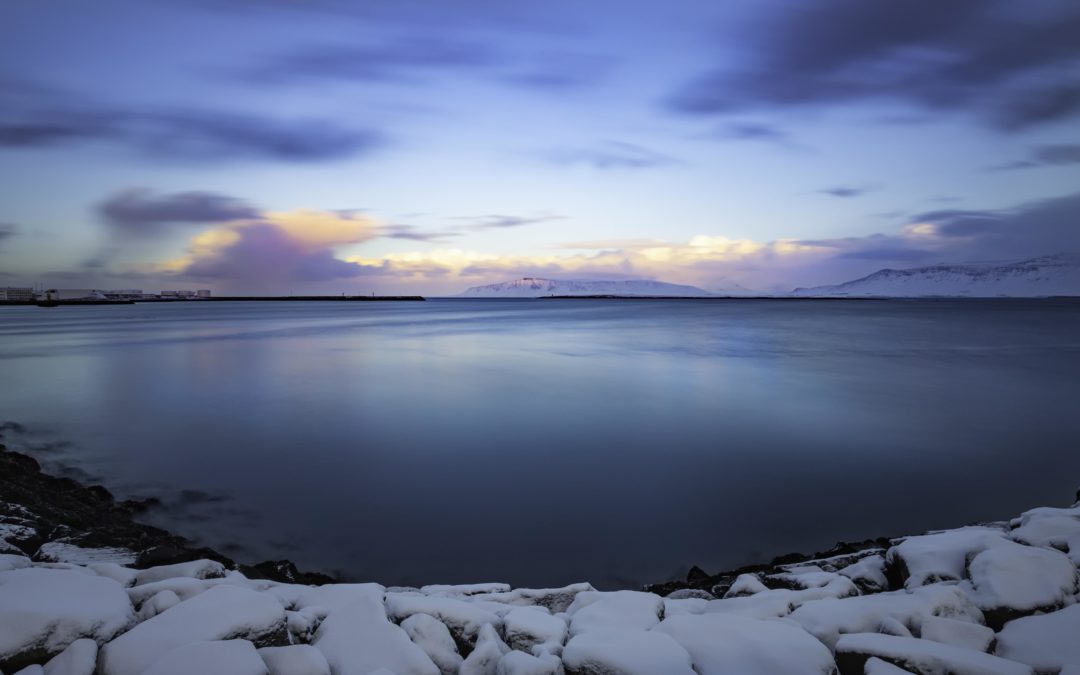
So, these filters cut down on the amount of light coming into the lens. How is this useful? I think the most simple example is taking a picture of flowing water (ie a waterfall). With a stopped down lens (nearly closed aperture) and a low ISO, you can still achieve an appropriate exposure with a longer than usual shutter speed. This allows you to capture the motion of the water, and lets you convey movement through a still picture. However, there is a limit to how far you can take this while still getting exposing the picture properly. That’s where the filter comes into play. By reducing the amount of light getting into the camera in the first place, you can slow the shutter speed significantly while still achieving a normal exposure, even in bright day light. This allows you to do more than just give the appearance of movement of your subject (water, clouds, etc), it produces a soft, airy look that almost makes it looks like time itself has been slowed.
The filters come in circular (screw on) or square (drop in) varieties and common types are 3, 6 and 10 stops. I most commonly use the 10 stop filter – which is the equivalent of halving the amount of light to the camera 10 times. This allows me to take 20 or 30 second exposures of landscapes in bright daylight. Once the filter is in place, it used to be that you wouldn’t be able to see anything to compose your photo. However, with the advent of ‘live view’ with DSLR’s and the electronic view finder found on ever more popular mirrorless cameras, you are actually able to get a preview of what the image will look like from a metering perspective, even with the filter in place. This helps you to save time with composition (although the camera needs to be stable on a tripod for this to work and so it shouldn’t have moved), but it also lets you ‘cheat’ with regards to exposure parameters (I use manual mode and choose my ISO manually as well). In theory you can calculate by how much to change your shutter speed, or use any number of free apps to do so, but in the end it’s easier to just preview the image and adjust your exposure based on that.
This are many uses for ND filters, but my favorite thing to capture with them are definitely waterfalls. Clouds, waves, so many options. I’ll leave this post with a few of my favorites that I have taken recently (click for larger image).

Oxarafoss Waterfall, Thingvellir National Park, Iceland

Awosting Falls, Minnewaska State Park, New York
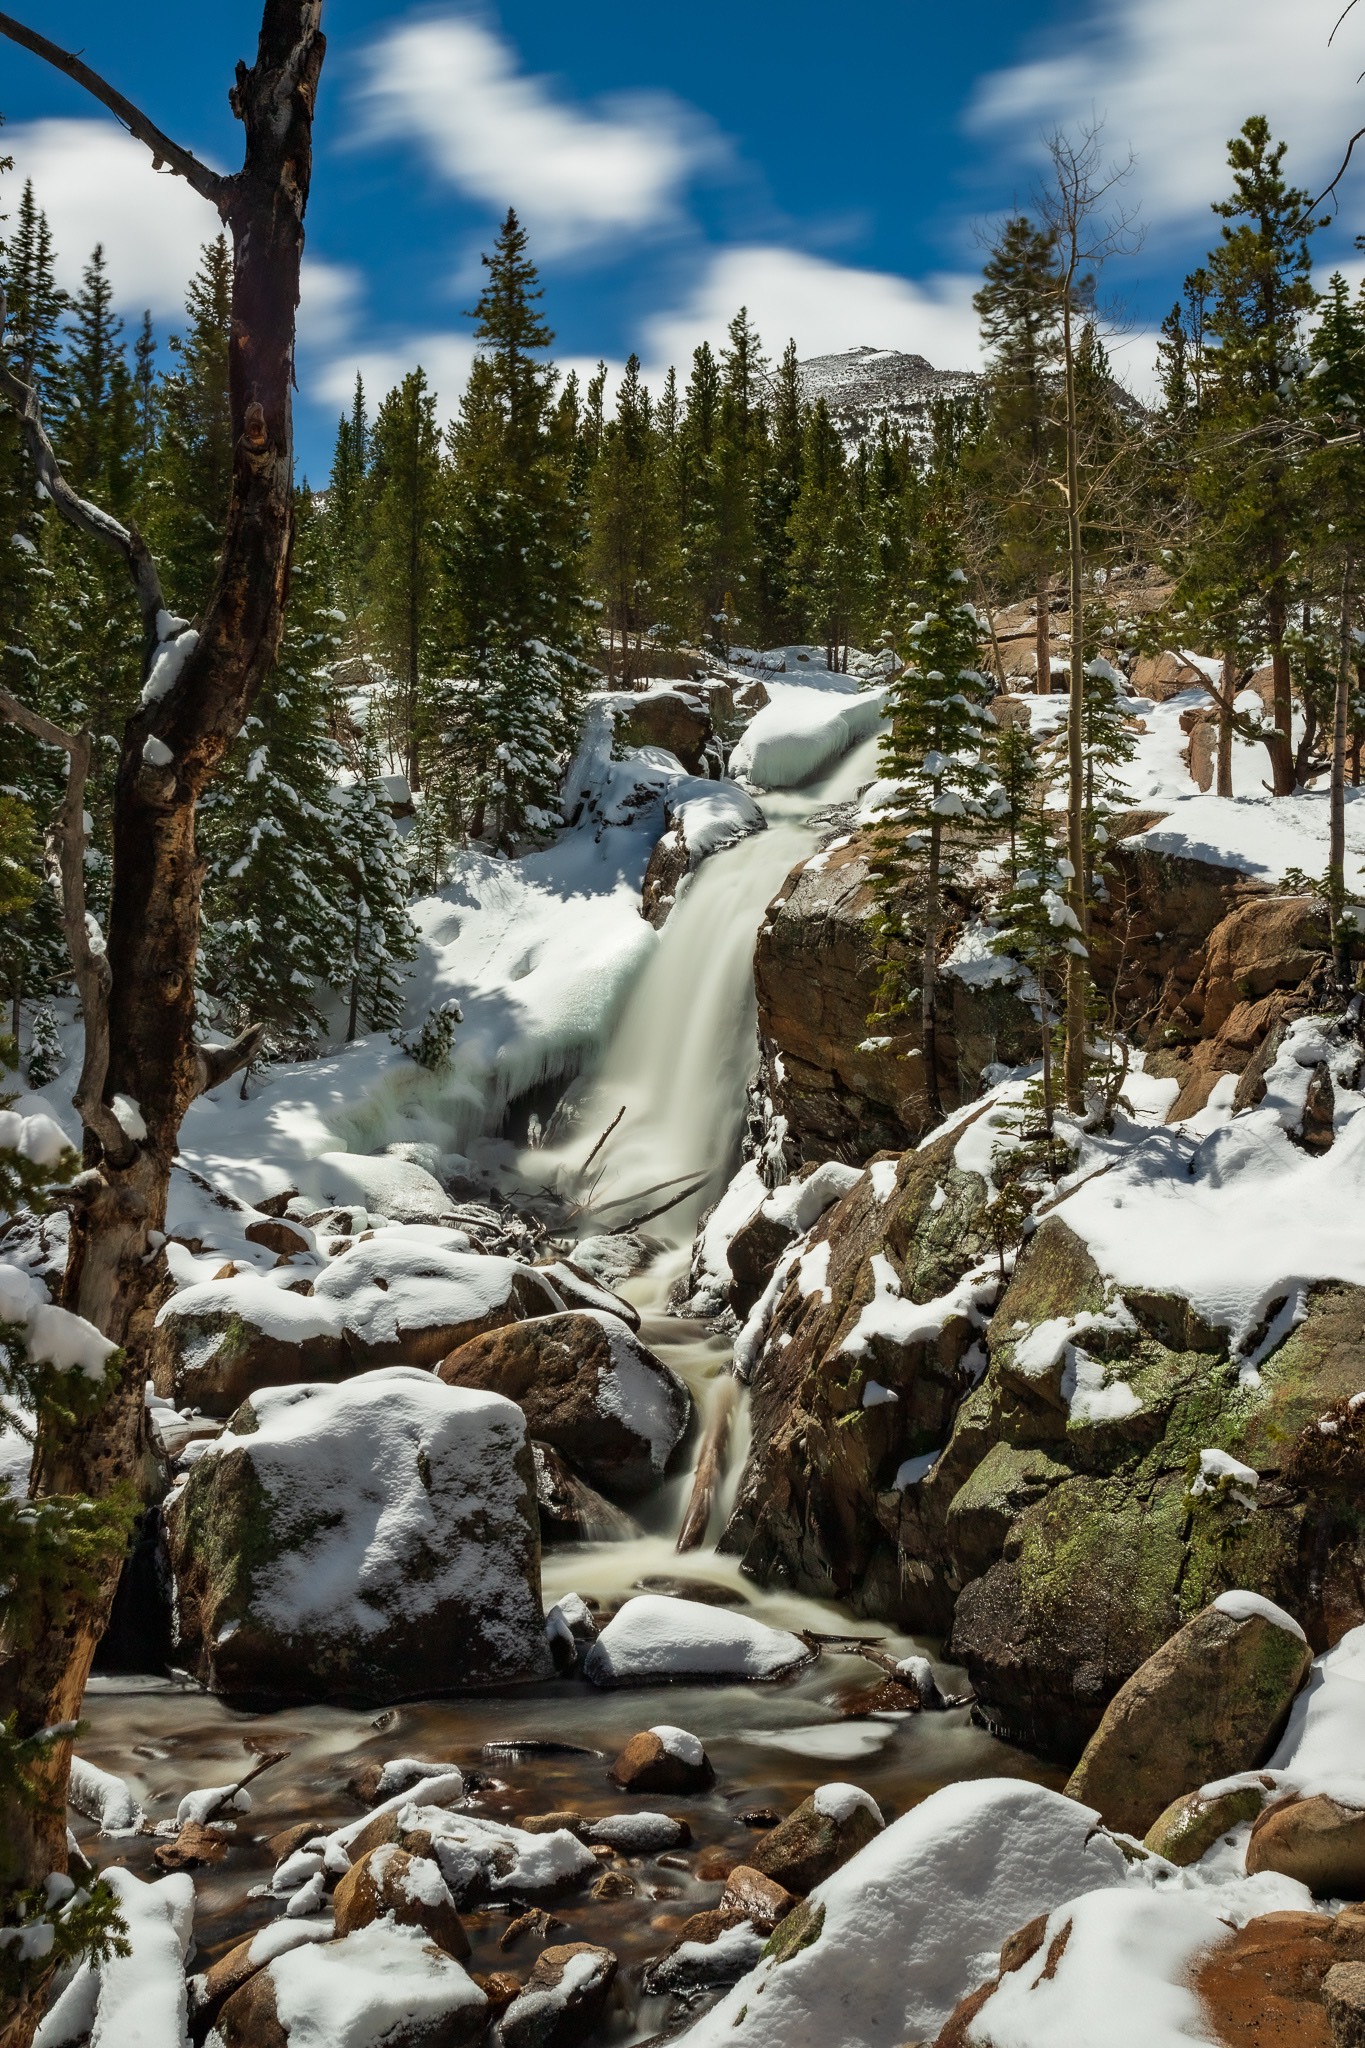
Alberta Falls, Rocky Mountain Rational Park, Colorado